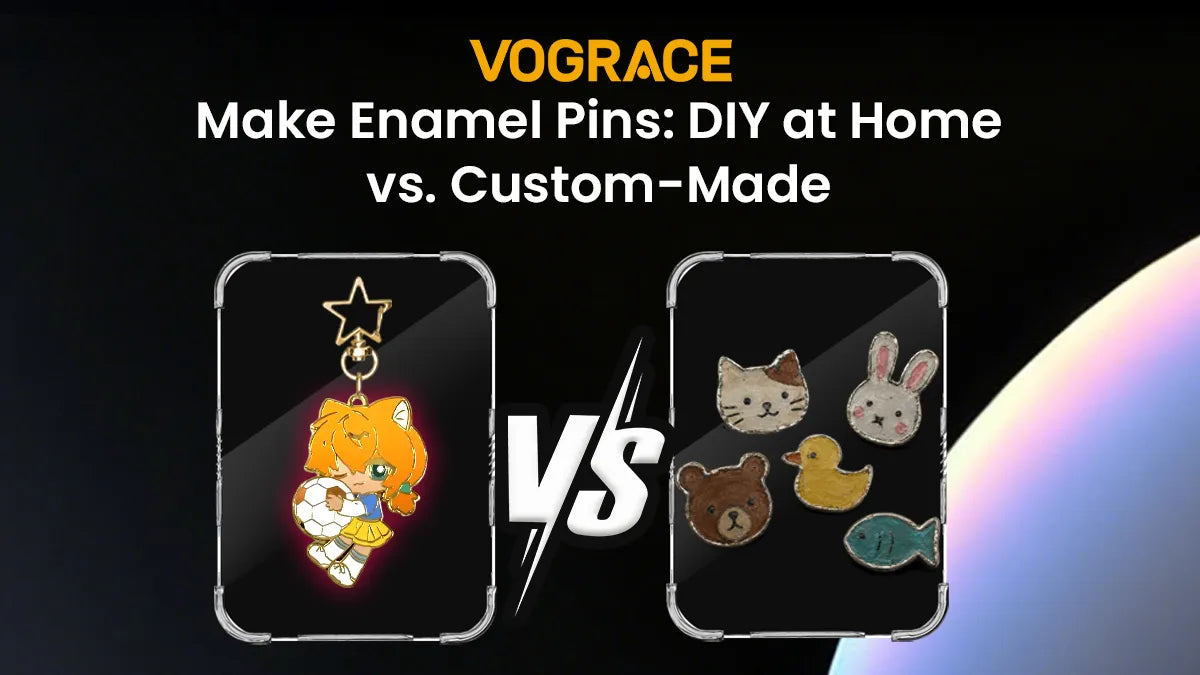
How to Make Enamel Pins: DIY at Home vs. Custom-Made
Enamel pins look cute and simple until you actually sit down and try to make one. Shrink plastic, resin, paint, timing—it all has a learning curve, and knowing when to skip DIY for a custom order can save you hours you didn't plan on losing.
Understanding DIY Enamel Pins

Say "enamel pins" and most people picture the ones from a shop: a metal base with color sitting inside etched grooves, baked and polished until it shines.
Let's be honest, recreating that exact process at your kitchen table is extremely difficult. You can get close, though.
That's why most home methods lean on shrink plastic sheets, the kind you print out, cut out and bake in a toaster oven until they shrink down to pin size. Once they cool down, a coat of resin gives them that same glossy look.
This article walks you through the shrink plastic method step-by-step, with a few tips for a cleaner finish and the limitations of DIY and where you might run into trouble.
Don't worry; you'll also find an easier way to make enamel pins, and then a quick comparison between these two methods to help you figure out which one actually fits what you're trying to do.
How to Make Enamel Pins With Shrink Plastic (Step-by-Step Method)
Like already mentioned, shrink plastic is our go-to material here, mostly because it's cheap and doesn't ask for anything beyond a printer and an oven you might already own. Grab these materials before you start:
● Printable shrink plastic sheets
● Inkjet printer (laser printers do not work for this method)
● Scissors or a craft knife
● A toaster oven or regular oven
● UV resin or two-part epoxy resin
● A UV lamp if using UV resin
● Metal pin backs
● Fine-grit sandpaper
● Strong glue, like E6000
● A toothpick
Step 1: Design your artwork
Use whatever design software you're comfortable with, or draw it by hand and scan it. Keep lines bold and colors solid. Avoid fine details; they get lost once the plastic shrinks down.
Step 2: Print at the right size
Shrink plastic drops to roughly a third of its original size, so print your design two to three times larger than the finished pin. If you're fitting more than one design on a sheet, leave a gap between them so you have room to cut later.
If you're not sure what finished size to aim for, check our pin size guide for common pin dimensions and tips on choosing the right size.
Step 3: Cut out your pieces
Trim close to the edges with scissors or a craft knife. The cleaner you do this job now, the less sanding you will be doing later.
Step 4: Bake
Preheat according to whatever the shrink plastic packaging tells you to; the requirement can differ based on the brand, so read through the instructions on the packaging. Lay your cut pieces on a baking sheet and watch them curl and flatten as they shrink. Pull them the moment they lie flat, then press down with something heat-safe while they're still warm. We don't want any edges to curl back up.
Step 5: Seal with resin
Once your pieces have cooled, spread a thin layer of UV resin or epoxy over the front, working it to the edges with a toothpick. Pop any bubbles you see immediately. UV resin cures under a lamp in about 1.5 minutes. Epoxy takes longer; follow the instructions on the package once again.
Step 6: Attach the pin
Lightly sand the back of your piece so the glue has something to grip, then put on some strong glue and press the pin backing into place. Give it at least a couple of hours before handling it again. If you have the time, give it a 24-hour rest; it's the safest bet.
That is it! The finished pin is ready to wear now. Yes, the finished pin won't look exactly like a factory-made hard enamel pin, but for a first attempt, it holds up better than you'd expect.
That said, here are a few tips to make your pins look cleaner and better.
Tips for Making Your DIY Pins Look More Professional

A handful of small details can make the difference between a pin that looks homemade and one that looks store-bought.
Design bigger than feels necessary. Shrink plastic doesn't shrink evenly, so print your design larger. You can always trim extra off, but you can't add detail once it's too small to read.
Expect the colors to darken. As the plastic shrinks, the ink gets squeezed into a much smaller space, and the colors come out noticeably darker than they looked on screen. If you need a specific shade, print a test piece first and see what actually comes out of the oven.
Keep the shapes bold and simple. Simplicity goes a long way. Thin lines and small text disappear during shrinking. Circles, ovals and big lettering hold up far better than anything complex.
Don't walk away from the oven. Shrink plastic can go from flat to curled to flat again in under a minute. Stay close enough to turn off the oven and pull your piece the second it flattens.
Layer your resin. A thick pour is sure to trap bubbles and cure unevenly. Two thin coats will always beat one heavy one almost every time.
Paint the edges metallic. Run a metallic paint pen along the rim before sealing it, and you will get a metal-like border. It's one of those cheap tricks for making a shrink plastic pin look closer to real enamel.
Keep patience. Most DIYs fail because people get impatient, especially when working with resin or glue. Give everything enough time to set, even if that means letting it sit overnight.
Limitations of DIY Enamel Pins
Shrink plastic pins look great, but let's be honest: they're not a true enamel pin, and it helps to know that going forward.
Real enamel pins start with a metal base stamped with a die, the thing that creates those raised lines and pockets where the colors sit. That stamping process itself needs industrial equipment, which most of us don't have.
Of course, there are a few methods that try to get closer using metal blanks, engraving tools and actual enamel paint. They look way more convincing, but only when it works. It also demands a great amount of DIY experience and a lot of trial and error.
Durability is another limitation. Commercial pins survive years of daily wear without much thought. Homemade ones, be they shrink plastic or hard-painted metal, are more fragile. Resin changes color or chips if you're rough with it. Glued pin backs can also come loose more easily than factory-attached backs.
And then there's time. A single homemade pin can eat up hours of your time once you count design, baking, curing and drying, and that's assuming nothing goes wrong. One mistake, and you might have to start over again. This can work for a one-off gift, but not when you need dozens of the same design.
Working with enamel paints and resin also requires proper safety measures, since the fumes aren't something you want to be breathing for long stretches.
Simply put, DIY works and is excellent for personal projects. But when you're trying to make multiple enamel pins and you're not so experienced in DIY, here's the easier way.
How Custom-Made Enamel Pin Manufacturing Works

Once you hit the ceiling of what DIY can do, custom manufacturing is the obvious next step for you to explore.
You submit a design, usually a vector file, with clean lines and colors kept separate. A manufacturer builds a metal die from that artwork and uses it to stamp your design into a sheet of metal, then cuts it into individual pin shapes.
From there, the professionals fill each section with enamel paint, using fine methods so colors don't bleed into each other. The pins then get sent to cure, after which they are either left textured or polished smooth, depending on whether you went with soft or hard enamel.
A plating step adds the final color, gold, silver or whatever you picked, and a pin back gets firmly attached before the batch ships out.
Consistency, durability and ease-of-use are the real payoff here. Every pin in the batch matches, and the metal base won't chip the way resin does. Also, most manufacturers clean up your file for you, tightening line thickness or color separation so it actually works with the stamping process.
So, what should you go for? DIY or custom-made? Here's a quick comparison to help you decide.
DIY vs. Custom-Made Enamel Pins: Side-by-Side Comparison
Here's how the two stack up, side by side.
|
Factors |
DIY at Home |
Custom-Made |
|
Upfront Cost |
Low with shrink plastic, higher with sheet metal |
Includes mold/die setup and order cost |
|
Cost per pin (bulk) |
High, since it's all manual |
Low at volume |
|
Time to finish |
Same day, per pin |
Days to weeks, per batch |
|
Durability |
Moderate, resin can chip |
High, built for daily wear |
|
Consistency |
Varies pin to pin |
Identical across the batch |
|
Best for |
Gifts, small batches, fun projects |
Merch, brand products, resale |
Final Thoughts
DIY pins are a fun, cheap way to test a design or make something one-off. They're better for small projects than large batches. When you need cheap custom enamel pins in bulk without compromising on consistency and quality, Vograce is here for you. We handle the design, stamping and finishing so you end up with consistent and durable pins ready to wear, sell, or hand out.