How to Make a Body Pillow: Materials, Sizes & Design Tips
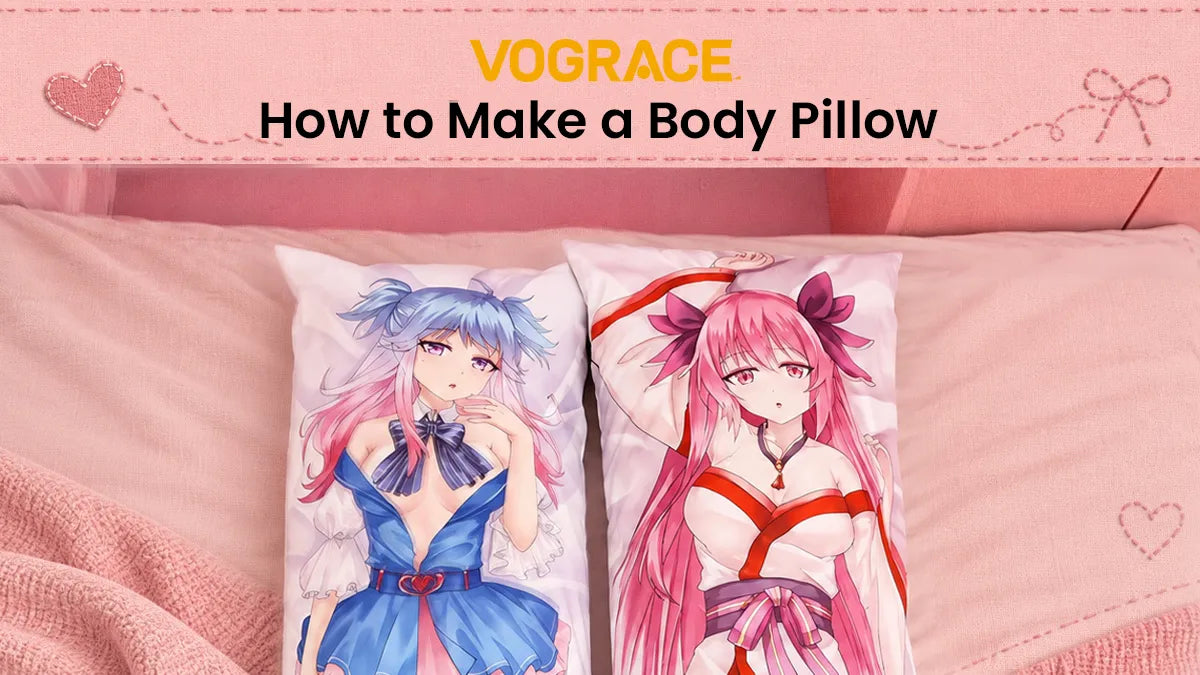
A DIY body pillow has two parts: the insert and the cover. The insert is the pillow itself, while the cover is the removable fabric layer that goes over it. You can sew both from scratch or make just one and reuse or buy the other instead. Either way, three choices matter most: size, filling, and cover fabric. Get those right first, and the sewing itself is fairly simple, even for a complete beginner who has never made a pillow before.
In this guide, you'll learn how to pick and choose the right body pillow and then learn how to make one in an extremely simple, step-by-step method. Let's get started.
Decide What Kind of Body Pillow You Want
Before you pick a size or fabric, you must think about how you'll use the pillow, since that shapes every choice going forward.
If you want something to hug while you sleep, a long rectangular pillow is the easiest shape to sew and works for most sleeping positions.
If you need support for your back, hips, or legs, think about where the pillow needs to sit and how much length that spot requires. A firmer or denser filling usually holds its shape better under that kind of pressure.
If the pillow is mostly decorative, the cover is what matters the most. You can build it around an insert you already own instead of making one from scratch.
There's also a popular style worth knowing about, especially if you lean toward anime or character-themed pillows: the long, narrow dakimakura shape, usually around 50 x 150 cm. It's essentially a body pillow with a double-sided printed cover, so the same steps in this guide apply. You're just working with a longer, narrower insert and a cover built around specific artwork.

Once you know the use case, you also know how much to make: the whole pillow, just the insert, or just the cover. That alone saves you from buying materials you don't need.
Choose the Right Body Pillow Size
There isn't one single official body pillow size, but 20 x 54 inches is a common choice for a straight, rectangular pillow. Treat it as a starting point, not a rule. The table below gives you a few common sizes and what each one is best suited for.
|
Approximate Size |
Best For |
|
12 x 48 inches |
A smaller, more compact pillow |
|
20 x 54 inches |
A common full-size rectangular option |
|
20 x 60 inches |
A longer option for extra coverage |
|
Custom |
When standard sizes don't fit your needs |
These are examples, not fixed categories, so feel free to land somewhere in between.
A few things that actually decide the size:
● Your height
● How much of your body you want it to support
● How much bed space you have left over
● How you plan to use it, such as hugging it, supporting yourself, etc.
Your ideal size should balance comfort, support, and the space available on your bed.
One key detail to know as a first-timer: finished size and cutting size aren't the same. Say you want a finished pillow at 20 x 54 inches; the fabric pieces need extra room for the seams.
Solution: Make the insert first, then measure it once it's fully finished before you cut fabric for the cover. That way the cover fits the pillow you made, not the size you planned on paper.
Pick Your Materials

The next step is picking your materials for the insert and the cover.
Filling
Polyester fiberfill is the easiest starting point if this is your first body pillow. It's light, spreads out evenly by hand, and is used in most pillows you'd normally buy off a shelf.
Shredded foam gives you a denser feel if you want something firmer to lean on. It's not automatically better than fiberfill; it's just a different feel.
An old blanket or quilt works too if you'd rather upcycle something than buy filling. Roll or fold it to the shape you want and build the cover around those measurements. It's a good option if you already have a blanket sitting around that's too worn for daily use but still has some life left in it.
Cover
A few things to consider when choosing the right cover fabric:
● Cotton is breathable and one of the easiest fabrics to sew.
● Flannel is a good pick when you want something warmer for cold-weather conditions.
● Satin gives the pillow a smoother, more decorative finish.
● Polyester or microfiber holds up well and is easy to care for.
Simply put, pick the filling based on the feel you want inside the pillow, and pick the fabric based on how you want it to look and feel when you hold it.
Step-by-Step Guide on How to Make a Body Pillow
Gather your fabric, a sewing machine or needle and thread, scissors, pins, and your chosen filling.
1. Prewash the fabric. If it's washable, wash and dry it first so it doesn't shrink after the pillow is already made.
2. Cut two pieces for the insert. Use your target finished size and add your chosen seam allowance to each edge.
3. Sew the insert. Place the two pieces together with their outer sides facing each other, pin the edges, then sew around them with a straight stitch. Leave one section open for the filling.
4. Turn it right-side out. Push the corners out gently so they lie flat instead of staying bunched up.
5. Add the filling a little at a time. Stuff it in small amounts, pausing often to spread the material out and check the shape. Don't pack it as tight as possible by default. Match the firmness to how you want the pillow to feel: soft enough to sink into, or firm enough to hold its shape.
6. Check the shape before closing it up. Look for patches, lumps, or uneven corners and fix them now while the opening is still accessible.
7. Close the insert. Fold the raw edges in and sew the opening shut securely so it holds up to regular use.
8. Make the cover. Measure the finished insert, not your original plan. Then cut the cover fabric to match.
From here you have two closure options: an envelope closure, which needs no additional materials, or a zipper closure, which gives you a more enclosed, removable case.
Customize Your Body Pillow Cover
Changing the cover is the easiest way to change how the pillow looks. A different fabric, pattern, or color can match your bedding, stand out on its own, or create contrast.
Keep the shape in mind too. As mentioned, a plain rectangle is the easiest shape to sew. A curved pillow needs a cover pattern built just for it.
For closure, you already have two options: envelope or zipper. Pick whichever fits how often you plan to wash or swap the cover.
You can go further and add embroidery, printed fabric, patchwork, and so on to make the cover your own.
If you keep the insert simple, you can put all your creativity into the cover instead.
Essential Tips for Making a Body Pillow
Measure before you cut, especially for the cover, since it needs to match the insert you actually made.
Don't overstuff with filling. A body pillow doesn't need to be packed completely full to feel supportive.
Add filling gradually rather than all at once. It's much easier to avoid lumps this way than to fix them later.
Make the cover removable. It's the easiest way to keep the pillow clean and swap the look whenever you want.
Give the pillow a day to settle before you decide it needs more or less filling. What feels overstuffed on day one may even out within a week.
Keep in mind, the best DIY body pillow isn't the biggest or the fullest one. It's the one whose size, firmness, and cover actually match how you plan to use it. A smaller pillow that fits your bed and your needs beats a larger one that just gets in the way.
Choose Vograce for Your Body Pillow

So, you like the idea of custom body pillows but don't want to sew one yourself? Vograce can build it for you. We print full-color, double-sided designs directly onto the pillow cover, so your artwork, photos, or characters cover the entire surface instead of just a patch or a small panel.
You can choose from multiple sizes, including longer dakimakura-style options, and pick the fabric finish that suits how you'll use the pillow.
Every order is made to your exact design, so there's no guesswork about how the final print will line up or look once it's stitched and filled. You can even preview your artwork on the pillow using our online editor before you place the order; that's going to be really handy.
If you want the personalization of a DIY project without the sewing, the patience, or the trial and error, Vograce turns your idea into a finished pillow you can actually use, right down to the size and fabric feel you picked yourself.