How to Make Holographic Stickers: A DIY Guide for Beginners
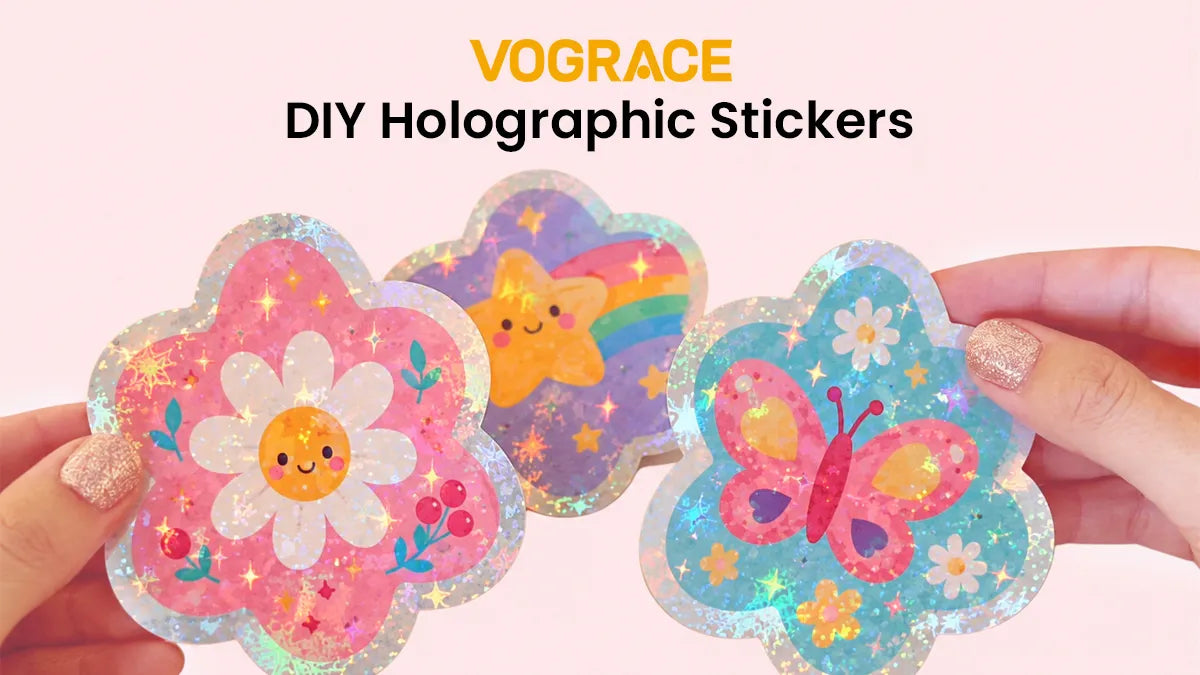
Homemade stickers are fun and easy to make, but they can sometimes look plain compared to the ones you find in stores. One easy way to fix that is by adding a holographic effect. It instantly makes your stickers look shinier, more eye-catching, and far more professional, and the good news is that adding it is extremely easy. Here's a step-by-step guide on how to do it.
Materials You'll Need
● Printable holographic sticker paper (compatible with your printer)
● Inkjet or laser printer
● Cutting mat
● Scissors or a craft knife
● Self-adhesive clear laminate sheet (optional)
Step-by-Step Guide on How to Make Holographic Stickers at Home
For this method, we'll be using printable holographic sticker paper. Alternatively, if you have normal sticker paper laying around, you can use that too. To still get the holographic effect on top of it, simply swap out the clear laminate sheet for a self-adhesive holographic laminate sheet. The rest of the process stays exactly the same, so let's get started!
Step 1: Prepare Your Design File
Start with a design file in PNG format or any format that supports a transparent background. This matters more than you might think. A transparent background means your printer only lays ink where your actual design is, so when the holographic effect catches the light, it highlights your artwork instead of a big rectangular block around it.
Before finalizing your artwork, make sure your design fits the right sticker dimensions. Checking a sticker size chart can help you choose the best size for your design, maintain proper proportions, and avoid important details becoming too small after printing.
Step 2: Set Up Your Canvas

For this tutorial, we'll be using Canva; it's free and easy to use. You can use your favorite designing software; the process remains the same.
Start by creating a new canvas the size of your printable holographic sticker paper. In most cases, it's A4, which means 8.27 x 11.69 inches.
Import your design to the canvas and adjust its size. Since we have a blank canvas as a background, you can easily estimate the sticker size in real life compared to an A4 sheet.
To change your design size, select it, click on Position, lock the ratio, and adjust the width and height. For this tutorial, we are going with 3.5 x 3.5 inches.

Fill your canvas with the same design or different ones, since we don't want to waste an entire sheet of sticker paper for one single sticker. Don't forget to leave some extra space between designs; it makes cutting easier.
Step 3: Add an Offset

An offset is a solid, colored outline placed around your sticker design to give it a clean, professional border.
Adding an offset is optional, but it's another simple trick to make your homemade stickers look store-bought.
Select your design and click Edit. Under Shadows, select Outline. Click on Outline again to open its settings. Adjust the size, color, and intensity of the offset.
Tip: For this method, the offset cannot be white, because printers can't print the color white. You can use light gray or another color instead.
Now, add the offset to all the designs. For a faster way, right-click the design with the offset and copy the style, then click on each design you want to add it to.
Export the canvas as a PDF Print. If you have Canva Pro, set the color profile to CMYK; if not, leave it as RGB.
Step 4: Print on Holographic Sticker Paper
Feed your sticker paper into the printer, making sure you're using the right paper for your printer.
Print the file at "Actual Size" or "100%" in your printer settings. This makes sure the stickers are the same size on the paper as they are on the canvas.
Step 5: Laminate for Extra Protection
Most printable holographic sticker papers are made of printable vinyl. They're waterproof and naturally resistant to scuffing, so laminating them isn't strictly necessary. That said, if you want to protect the ink from fading and make your stickers last longer, adding a layer of clear laminate is a smart extra step.
Note: If you went with plain sticker paper instead of holographic, follow this same lamination step, but use a holographic laminating sheet in place of the clear one.
Let the ink dry fully before laminating to avoid smudging or damaging the print.
Peel the backing paper off your self-adhesive laminating sheet, place it on top of the printed sticker sheet, and smooth it out over your printed designs, making sure there are no air bubbles. Use an old gift card or a craft scraper if needed.
Step 6: Cut Your Stickers Cleanly
Once your sheet is printed and laminated, it's time to cut.
If your design already has an offset, cut around that line.
If your design doesn't have an offset, don't worry. Just imagine a small border, about 2 mm, running around the edge of your sticker, and cut along that instead of hugging the design too closely.
This step matters more than it seems. First, that extra margin gives your sticker a cleaner, more polished edge. Second, it gives you a little breathing room in case you make any cutting errors.
Place the printed and laminated sheet on a cutting mat, then use scissors or a craft knife to cut your stickers cleanly.
Finally, peel off the backing and press your sticker onto whatever surface you like, whether that's a notebook, a water bottle, a laptop lid, or a gift for a friend.
That's it. You've made your own holographic sticker from scratch.
Skip DIY and Go Custom for Professional Stickers

We all love DIY; it's great for small, casual projects. But for sharper prints or bulk orders, Custom Holographic Stickers from Vograce are worth checking out.
Ordering your stickers from us is extremely easy. Upload your design, then see a preview of the sticker on our online editor. Once you're happy with the preview, select the size and quantity, and place an order.
You can either purchase a single set or order a lot more in bulk, and your stickers will be delivered right to your doorstep. The results will speak for themselves, because we use professional equipment and materials to make the stickers, with a shine DIY rarely matches.