How to Make a Photocard: DIY Guide, Design & Printing
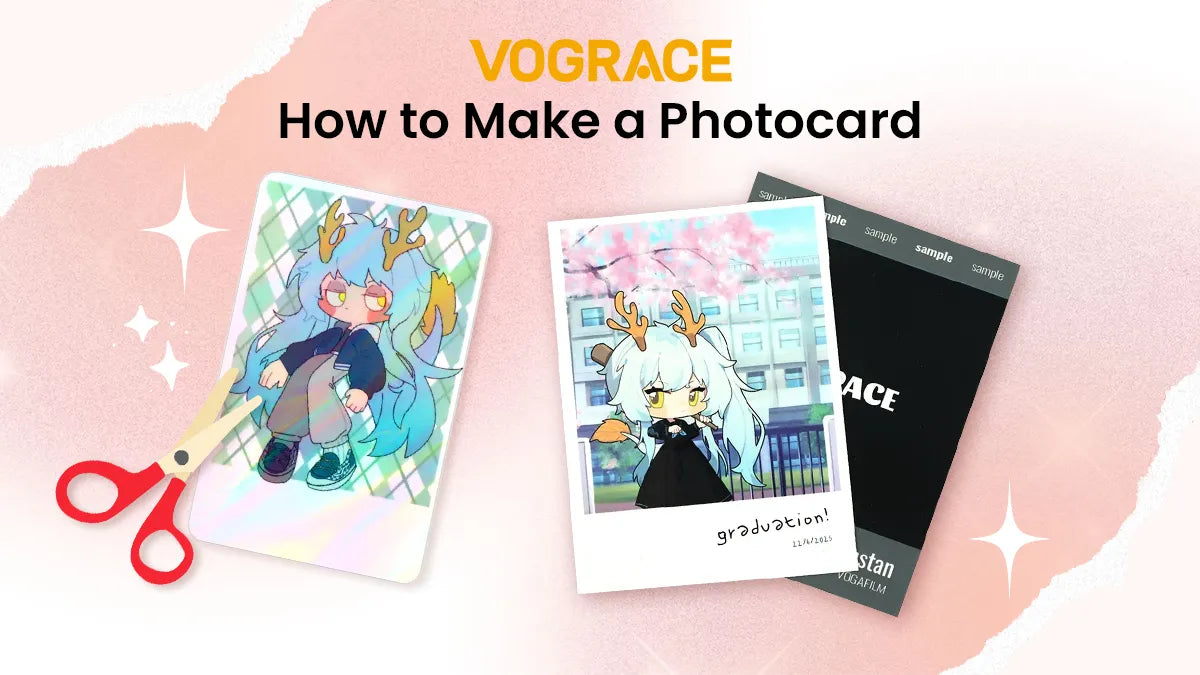
Making a photocard at home is one of the easiest DIY projects and is easier than it sounds. Luckily, you do not need professional printing equipment or design experience to do it well. All you need is a photo, a free design tool, a printer, and cardstock or photo paper.
To put it simply, you choose an image, build the design, set the correct size, arrange your cards for printing, then print, cut, and finish. This guide covers the easiest beginner-friendly way to make a photocard from start to finish.
Materials You'll Need
● Printer
● Cardstock or photo paper
● Scissors, a paper trimmer, or a craft knife
● Ruler
● Cutting mat
● Laminating sheets or laminating pouches (optional, if you want to laminate your photocard)
● Card sleeves (optional, for durability)
Note:
● A paper trimmer usually gives the best results, because making straight edges with it is easier. If using a craft knife, don't forget to use a ruler and a cutting mat; it's easier this way. Scissors work just fine for a first attempt, so you can use them too.
● Coming to paper, use cardstock or thicker photo paper instead of printer paper. The finished card will have more weight and will feel like a real collectible.
How to Make a Photocard at Home: A Step-by-Step Guide

Gather your materials and get ready to make a DIY photocard at home.
Step 1: Choose the Photo
The first step is to choose the photo for your photocard, because it is the heart of this entire project. Look for an image that is clear and high resolution. Good lighting and contrast help it hold up once printed to the photocard size.
The initial photo does not need to match the final card dimensions just yet, since we will crop it and make necessary changes in step 3.
When you shrink the image down on your screen to roughly the size of a playing card, it should still look clear at that size, and that photo will work great as a photocard. A photo that looks great on a larger monitor or display can lose detail once shrunk down.
Step 2: Set Up the Photocard Size
A standard photocard measures 2.16 x 3.35 inches; this is a good size to pick if you are not sure where to start. Or, you can check out our Photocard Size Guide to learn about different cards and their dimensions.
In your favorite design tool, create a new custom canvas at 2.16 x 3.35 inches, or whichever photocard size you're going with. You must keep your design inside these boundaries rather than letting it spill past the edge.
It also helps to leave a small safe area around the border, say roughly a quarter inch, and keep faces, names, and other important details away from the edge. This protects your design during the cutting process; don't worry about things like "bleed" or "trim marks" for this DIY project.
Step 3: Design Your Photocard
You can either design your photocard by yourself or simply use a template that is readily available on Canva or Pinterest.
● Upload your photo to the canvas.
● Position it and crop it to fit.
● Add a background, border, or solid color for contrast.
● Add details like name, title, and date, if you want.
● You can also add simple decorative elements like shapes, stickers, etc.
Don't try to fill every inch of the canvas with some kind of details; a photocard this size usually looks better with some breathing room.
The back of the photocard can stay blank, or you can add a simple design like a logo or duplicate the same image and use it on both sides.
Step 4: Prepare Multiple Photocards
If you don't want to waste a whole sheet for a single card, or if you're looking to print multiple photocards at the same time, do this instead.
Create a canvas the size of your cardstock or photo paper. Now, import your finished design, duplicate and create copies, and arrange the copies on the canvas, leaving a small gap between each card.
This gap matters a lot more than it looks. It gives you enough room during the cutting process and makes sure you do not cut into the actual design.
As a good rule of thumb, you can fit a maximum of nine 2.16 x 3.35 inch cards on an A4 canvas that is set to portrait.
Do a full and final check before proceeding to the next step.
Step 5: Print Your Photocard
As mentioned, cardstock or thick photo paper works better than standard copy paper, so load one of those into your printer.
A few settings to keep in mind:
● Select the correct paper type and settings.
● Use the highest quality printing settings.
● Set scaling to 100%, or actual size.
Do not let your printer automatically shrink or enlarge the design to fit the page. Any change in scaling changes the final size of your photocard and throws off your measurements.
It's recommended you print a single test sheet before running a full batch, then measure the printed card to confirm it matches your dimensions. Colors also look different on paper from the screen; a test print helps you judge the final look and make any necessary changes beforehand.
Step 6: Cut Your Photocard
Wait for the ink to completely dry before you handle the printed sheet. It can take longer, especially with cardstock.
Follow the card edges carefully, and cut with patience. Once again, a paper trimmer makes this entire process easier; however, you can also use a pair of scissors or a craft knife.
Use a ruler as a straight guide if you're cutting with a craft knife or scissors.
Step 7: Finish Your Photocard
The final step is to add these finishing touches to make your photocard feel more polished and look professional:
● You can laminate the card for extra durability (using clear self-adhesive laminating sheets or laminating pouches with a laminating machine).
● Slide your photocard into a protective sleeve for even better protection.
● Round the corners with a rounding punch tool for a polished look.
● Print and attach a second side for a store-bought photocard look.
None of these are a must, but they make your DIY photocard look better and last longer.
Get Custom Photocards from Vograce

If you want photocards without the entire DIY setup or a print quality beyond what a home printer can manage, explore our custom photocards built for this exact kind of project.
We offer photocards with double-sided printing, in various sizes, and multiple finishes, like rounded corners, matte, glossy, or holographic film, and more.
Upload your own photos, and Vograce photocards arrive on sturdy cardstock, cut to size, with clear edges every time. If you're making a large set or printing multiple cards for an event, or you would rather skip the trial and error of measuring and cutting by hand, you can explore our services.
With an MOQ of just 1 piece, you can order a single custom photocard without having to commit to a larger batch, making it a perfect option for personal projects, gifts, or simply trying out your design before placing a larger order.