How to Design and Make Your Own Custom Merch
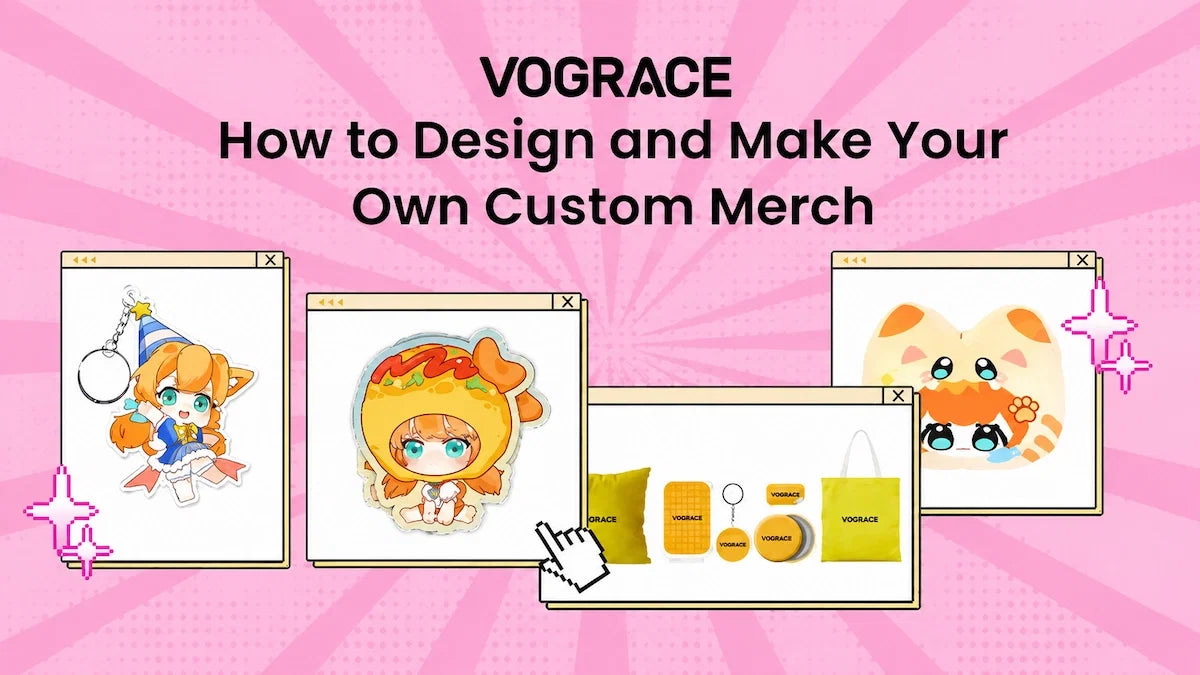
Most communities live online now. Your followers or customers interact with you through a screen, and that connection can feel distant even when it's strong.
Custom merch changes that. It turns a digital bond into something a person can hold, wear and show off in real life.
In today's guide, you will learn everything about designing merch people actually want, then turning that design into a finished product in the easiest way.
Why Custom Merch Matters

Why custom merch, you ask? It's because people don't buy your merch just to own a product. They buy it to feel like they belong to something. A t-shirt with your logo or a keychain with your artwork is a small, physical way for someone to say "I'm part of this."
When someone wears your design in public or puts it up on their desk, they're displaying their affiliation with your community. For many, that connection is worth more than the item itself.
You're making money in the meantime too. Each sale helps fund your work and lets you make more of what your audience loves.
Thanks to print on demand, custom merch these days also carries far less risk than it used to. Products are only made after someone places an order, so there's no need to buy inventory upfront.
With Vograce, production and fulfillment are handled for you, making it a great choice if you're looking for the best custom merch site. That means you can completely focus on creating designs and growing your brand.
Designing Your Merch

Before you start designing your merch, think about what your audience already responds to.
Look through your popular posts, the colors, the symbols and everything else associated with your brand. Good merch usually reflects something your community already recognizes. There's no need to build something from scratch.
Keep your first designs simple. A clean logo or a bold, single graphic tends to work better than something complex for beginners. Complex designs also work, but if you're new to designing, simplicity can work in your favor twice over.
Don't forget to test your idea before committing to it. Bounce it off your friends and family, ask for feedback or run a quick poll in your community.
Start with a small handful of products rather than a large catalog. A few well-designed items are easier to manage and easier for your audience to choose from.
Our catalog of keychains, pins, stickers and standees is a good place to start narrowing things down, since each product type gives you a different way to test the same design. You can expand once you know what actually sells.
Design Tips You Should Know
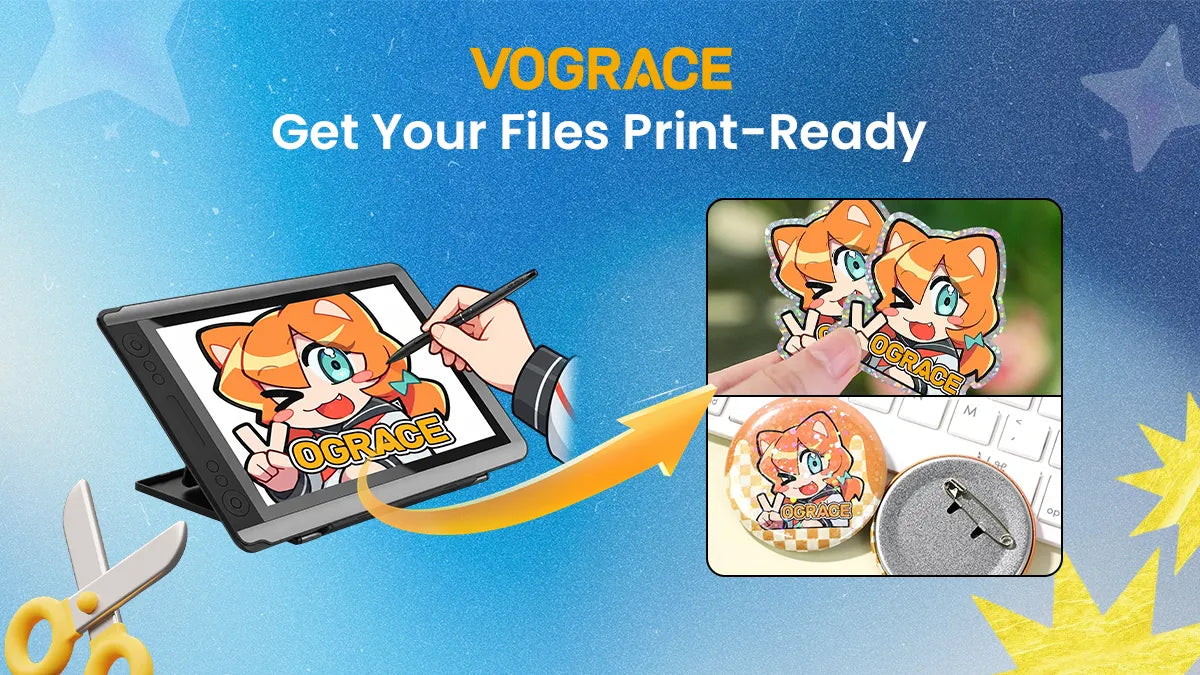
Once you have an idea, the technical side of your design matters just as much as the creative side. A design that looks great on screen can print poorly if the technical side isn't set up correctly:
● CMYK: Printers use CMYK, not RGB, so colors print accurately when your file is set up this way.
● 300 DPI resolution: Lower resolutions can look blurry. Use 300 DPI or higher for the best-looking merch.
● Bleed and safe margins: Keep important text and design elements away from the edges so nothing gets cut off during trimming.
● Product-specific sizing: A design made for a sticker won't automatically work for a hoodie or a standee, so size your artwork for each product.
These are a few of the important details you must remember. For beginners, this can seem like a lot. Luckily, when you're working with Vograce, the process becomes much easier.
Every product page on our site comes with its own template, product details, file requirements and design guide to help you design and make your custom merch.
Once your file is ready, our online editor tool shows you exactly how your design looks on the product before you order. This feature is available for almost every item. It's an easy way to check the preview and make sure nothing sits too close to the edge.
Making Your Merch With Vograce
Once your design is ready, the next step is turning it into an actual product.
When you're working with Vograce, you don't have to start from a blank canvas. We offer ready-made templates for our full range of custom merch, including keychains, pins, stickers and standees.
These templates already follow the correct sizing and print guidelines, so you can drop in your artwork without worrying about the technical details.
Here's how the process works, from submission to production:
1. Prepare your file. Save your design in an accepted format such as PNG or PSD, ideally with a transparent background, in CMYK and at 300 DPI. You can find all these details along with a template on every product page. Simply scroll down a bit to find them.
2. Choose your product and specifications. Select the item you want to make, along with the size, material, finish and quantity that fit your needs. We offer tons of customization options, so make sure to explore them all.
3. Upload your design and place your order. Customize your merch, select your quantity and place your order. Don't forget to use our online editor to preview your merch first.
4. Review your proof. Our team checks your file and sends back a digital proof by email so you can catch any issues before anything goes into production.
5. Approve and move to production. Once you confirm the proof, your order moves into production.
6. Receive your merch. After production and quality checks, your order ships to you.
Yes, designing and making your own custom merch with Vograce is that simple.
Final Thoughts
Custom merch works best when it's rooted in a real understanding of your community and a design that's clear and true to your brand.
And because of print on demand, you can start small, learn from what sells, and adjust without unsold stock piling up.
Once you have your design, our templates, product-level customization options and guided ordering process make it easy to turn that idea into something your community will actually want to wear or own.