How to Make Sticker Sheets: DIY Tutorial From Design to Print
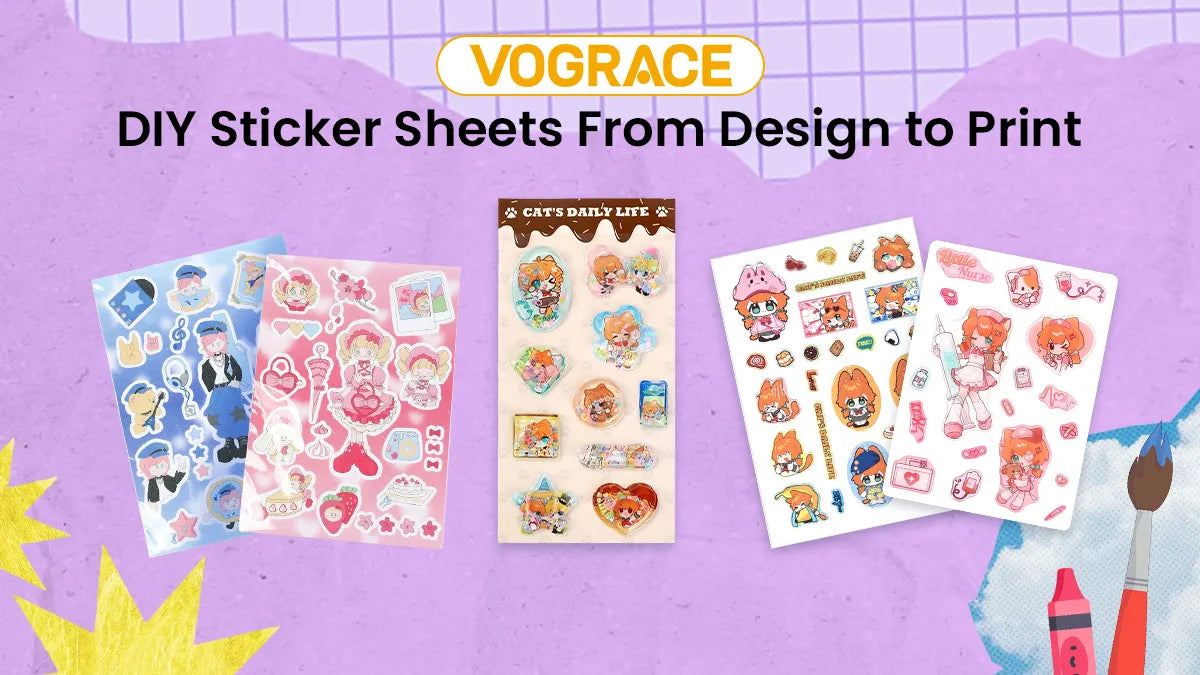
Are you looking to make sticker sheets with several designs on one page? Whether you want to make them for your small business, use them as giveaways, or simply create some for yourself, you can definitely make sticker sheets at home without much trouble.
If you have previous experience making stickers, you already know most of the process. However, there is one important difference that makes DIY sticker sheets a little tricky: the cutting.
In this guide, you'll learn how to prepare your designs, arrange them onto a sheet, print them, and cut the finished sheet by hand or with a cutting machine.
What Makes Sticker Sheets Different?
We already have guides on how to make holographic stickers, vinyl stickers, and more, and making them at home is fairly simple. But can we say the same about sticker sheets?
With the right approach, yes. The main thing that makes sticker sheets different is how they're cut.
For making stickers, we usually use die cutting. This is the process of cutting through both the sticker material and its backing, completely separating the sticker from the rest of the sheet.
But for sticker sheets, we cannot use die-cut. By doing so, each individual sticker will separate from the sheet. So, what's the solution? We must use a kiss cut. Kiss cutting goes through the sticker material and the adhesive but leaves the backing paper untouched.
This way, all the stickers are cut but still remain on the sheet. You can simply peel off a sticker individually whenever you want and store the rest of the sticker sheet.
A cutting machine makes this process easier and more consistent. But don't worry; you'll also learn how to do it by hand in this guide.
Materials You'll Need
● Printable sticker paper (compatible with your printer)
● Printer
● Cutting machine (optional)
● Craft knife
● Cutting mat
● Ruler
● Clear self-adhesive laminating sheet (optional)
How to Make Sticker Sheets at Home: A Step-by-Step Guide

Step 1: Prepare Your Sticker Designs
Start by preparing all the designs you want to include on your sticker sheet. PNG files work best; you can also use other formats that support transparent backgrounds. You can use free online background remover tools if you want to create a transparent background.
Step 2: Create Your Sticker Sheet
Open your favorite design software and create a new canvas based on the size of your sticker sheet; in most cases, it's A4.
Add your designs to the canvas one by one, and arrange them however you like. Just make sure you leave enough space between each design so that cutting becomes easy later on.
Coming to offset, it's optional but makes your stickers look professional. If you're using a cutting machine, you can add offset through its software. If you're cutting manually, you can imagine a line around the sticker and cut through it. But if you want to see the offset around the sticker so that you can cut easily, simply add an outline.
Take a look at the complete sheet and make sure none of the designs are too close. Once you're happy with the layout, export as a PDF or PDF-Print if using Canva. Any other high-quality format works too.
Step 3: Prepare the File for Cutting
If you have a cutting machine, then you'll need to prepare the design for the machine before you print. If you're cutting by hand, skip to the next step.
Upload the sheet layout to your cutting machine software and set up the registration marks. These marks will be printed along with your artwork and allow the machine to identify the positions of the sheet when it's time to cut.
Next, create or assign a cut line around the offsets of your stickers.
The type of blade to use, the settings to follow, and so on to get a kiss cut depend on the type of machine you have and also the type of sticker paper you're using. A simple search on the internet can provide you all these details.
Step 4: Print Your Sticker Sheet
Load your sticker paper into your printer. Make sure to choose the appropriate paper or media setting and use high-quality print settings. It's important you're printing at 100% or actual size so the designs aren't automatically resized.
If using a cutting machine, make sure to print the layout with the registration marks.
Step 5: Laminate the Sheet (Optional)
This step is optional, but if you want to protect the design, you can apply a clear self-adhesive laminating sheet over your printed layout.
Take the backing of the laminating sheet and apply it slowly over the printed side, starting from one edge and smoothing it down as you go. Make sure to avoid air bubbles and wrinkles.
It's also important you wait for the ink to dry before you laminate your sheet.
Step 6: Cut the Sticker Sheet
Now it's time to cut the stickers. Remember, we're going with a kiss cut, so the blade should only cut through the sticker layer without cutting the backing paper.
If the cut is too shallow, the stickers won't peel, and if it's too deep, you'll cut the backing paper too.
Machine Method
Place the printed sheet on the cutting mat (the one that comes with your machine) and load it into your machine. Let the machine detect the registration marks, then select the correct settings for a kiss cut.
For first-timers, this can take a lot of trial and error. Do a small test cut first until you find the right settings. Once you're happy with the depth and pressure, run the full sheet.
Manual Method
Place the printed sheet on a regular cutting mat and carefully follow the outline of each sticker with the knife. For this, you must use controlled pressure so that you only cut through the sticker material and not the backing paper.
If you added an offset, follow that outline. If you did not add an offset, imagine a border around your sticker and cut around it. This way, the final sticker will look professional, and you also won't cut through the actual design.
Cutting around curves and irregular designs requires a little more patience. For straight edges, you can use a ruler.
It's important that your craft knife be sharp, as it gives you better control.
Once you've cut all the stickers, what's left is to peel, apply, and enjoy.
Order Custom Sticker Sheets From Vograce

If you don't want to handle the printing and cutting all by yourself, you can also order custom sticker sheets from Vograce.
All you have to do is upload your artwork, customize your sticker sheet (like materials, quantity, and size), and place the order. You will receive custom kiss-cut sticker sheets that are professionally made and delivered right to your doorstep.
Preparing your artwork for ordering from us is easy too. You will find all the product details, the design guide, the file requirements, and even ordering instructions on the product page itself.
You just focus on making amazing sticker designs, and we'll handle the rest, delivering custom sticker sheets with that perfect kiss cut.